Visual Studio Code now offers the ability to use a docker container as a fully fledged development environment with the introduction of the Remote Containers extension.
Workspace files are made accessible from inside a container which can also host the tools relevant to the development environment, leaving VS Code acting as a remote UI to enable a 'local quality' development experience:

The obvious benefit here is the ability to very rapidly spin up a development environment through the use of pre-existing containers which already provide all required components.
Starting Up
First thing to do is create the config files that will tell VS Code how to configure the environment; this can be done by executing 'Add Development Container Configuration Files' (Ctrl + Shift + P):

This will create devcontainer.json and Dockerfile files under .devcontainer within the workspace.
The Dockerfile defines the container that Code will create and then connect to for use as a development environment. A bare bones Dockerfile for use with a Node app may look like this:
FROM node:slim
USER node
devcontainer.json defines how VS Code should work with a remote container. A simple example below shows how to reference the Dockerfile:
// For format details, see https://aka.ms/devcontainer.json. For config options, see the README at:
// https://github.com/microsoft/vscode-dev-containers/tree/v0.140.1/containers/typescript-node
{
	"name": "TriggerService",
	"build": {
		"dockerfile": "Dockerfile",
	},

	"settings": {
		"terminal.integrated.shell.linux": "/bin/bash"
	},

	"extensions": [
		"dbaeumer.vscode-eslint",
		"ms-vscode.vscode-typescript-tslint-plugin"
	],

	"remoteUser": "node"
}
With both of these files in place, VS Code will prompt to re-open in the container environment (or use the command palette to execute 'Reopen in Container'):

Once started up, an indicator in the bottom left shows that VS Code is currently connected to a container:

Create a Simple App
At this point VS Code is now connected to the node:slim container as configured in the Dockerfile.
Because this image provides everything needed to start developing a Node application, we can start by using npm to install Express:
npm init -y
npm install express
Then create index.js under the src folder:
const express = require( "express" );
const app = express();
const port = 8080;

// define a route handler for the default home page
app.get( "/", ( req, res ) => {
    res.send( "Hello world!" );
} );

// start the Express server
app.listen( port, () => {
    console.log( `server started at http://localhost:${ port }` );
} );
Next we need to update the package.json file to set the main entry point and start command:
{
  "name": "test-app",
  "version": "1.0.0",
  "description": "",
  "main": "src/index.js",
  "scripts": {
    "start": "node .",
    "test": "echo \"Error: no test specified\" && exit 1"
  },
  "keywords": [],
  "author": "",
  "license": "ISC",
  "dependencies": {
    "express": "^4.17.1"
  }
}
Now executing the following command from the terminal will start up the application inside the container:
npm run start
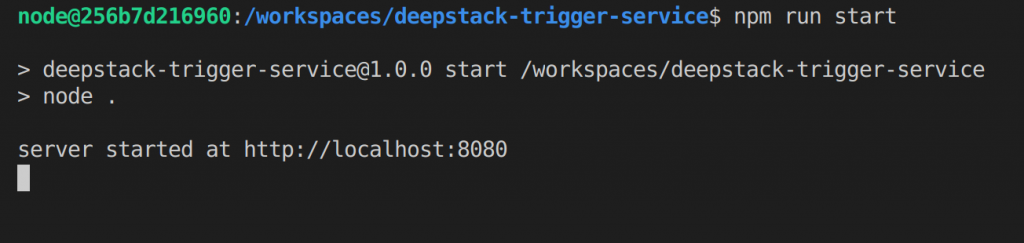
The key thing to note here is that we stood up this simple Node app without ever having to actually install Node on our host system; everything was pulled down via the node:slim docker image.
At this point the application is exposed on port 8080, so can be accessed at http://localhost:8080.
What's Next?
We have only covered enough here to get up and running, barely scratching the surface of what can be done with remote containers.
Next up, debugging from inside a container, and using docker compose to handle spinning up multiple containers.